

The Users section is where you manage who belongs to your workspace: invite existing or new people, change their roles, put accounts on hold and monitor their status. Keeping this list accurate is the first line of your access control.
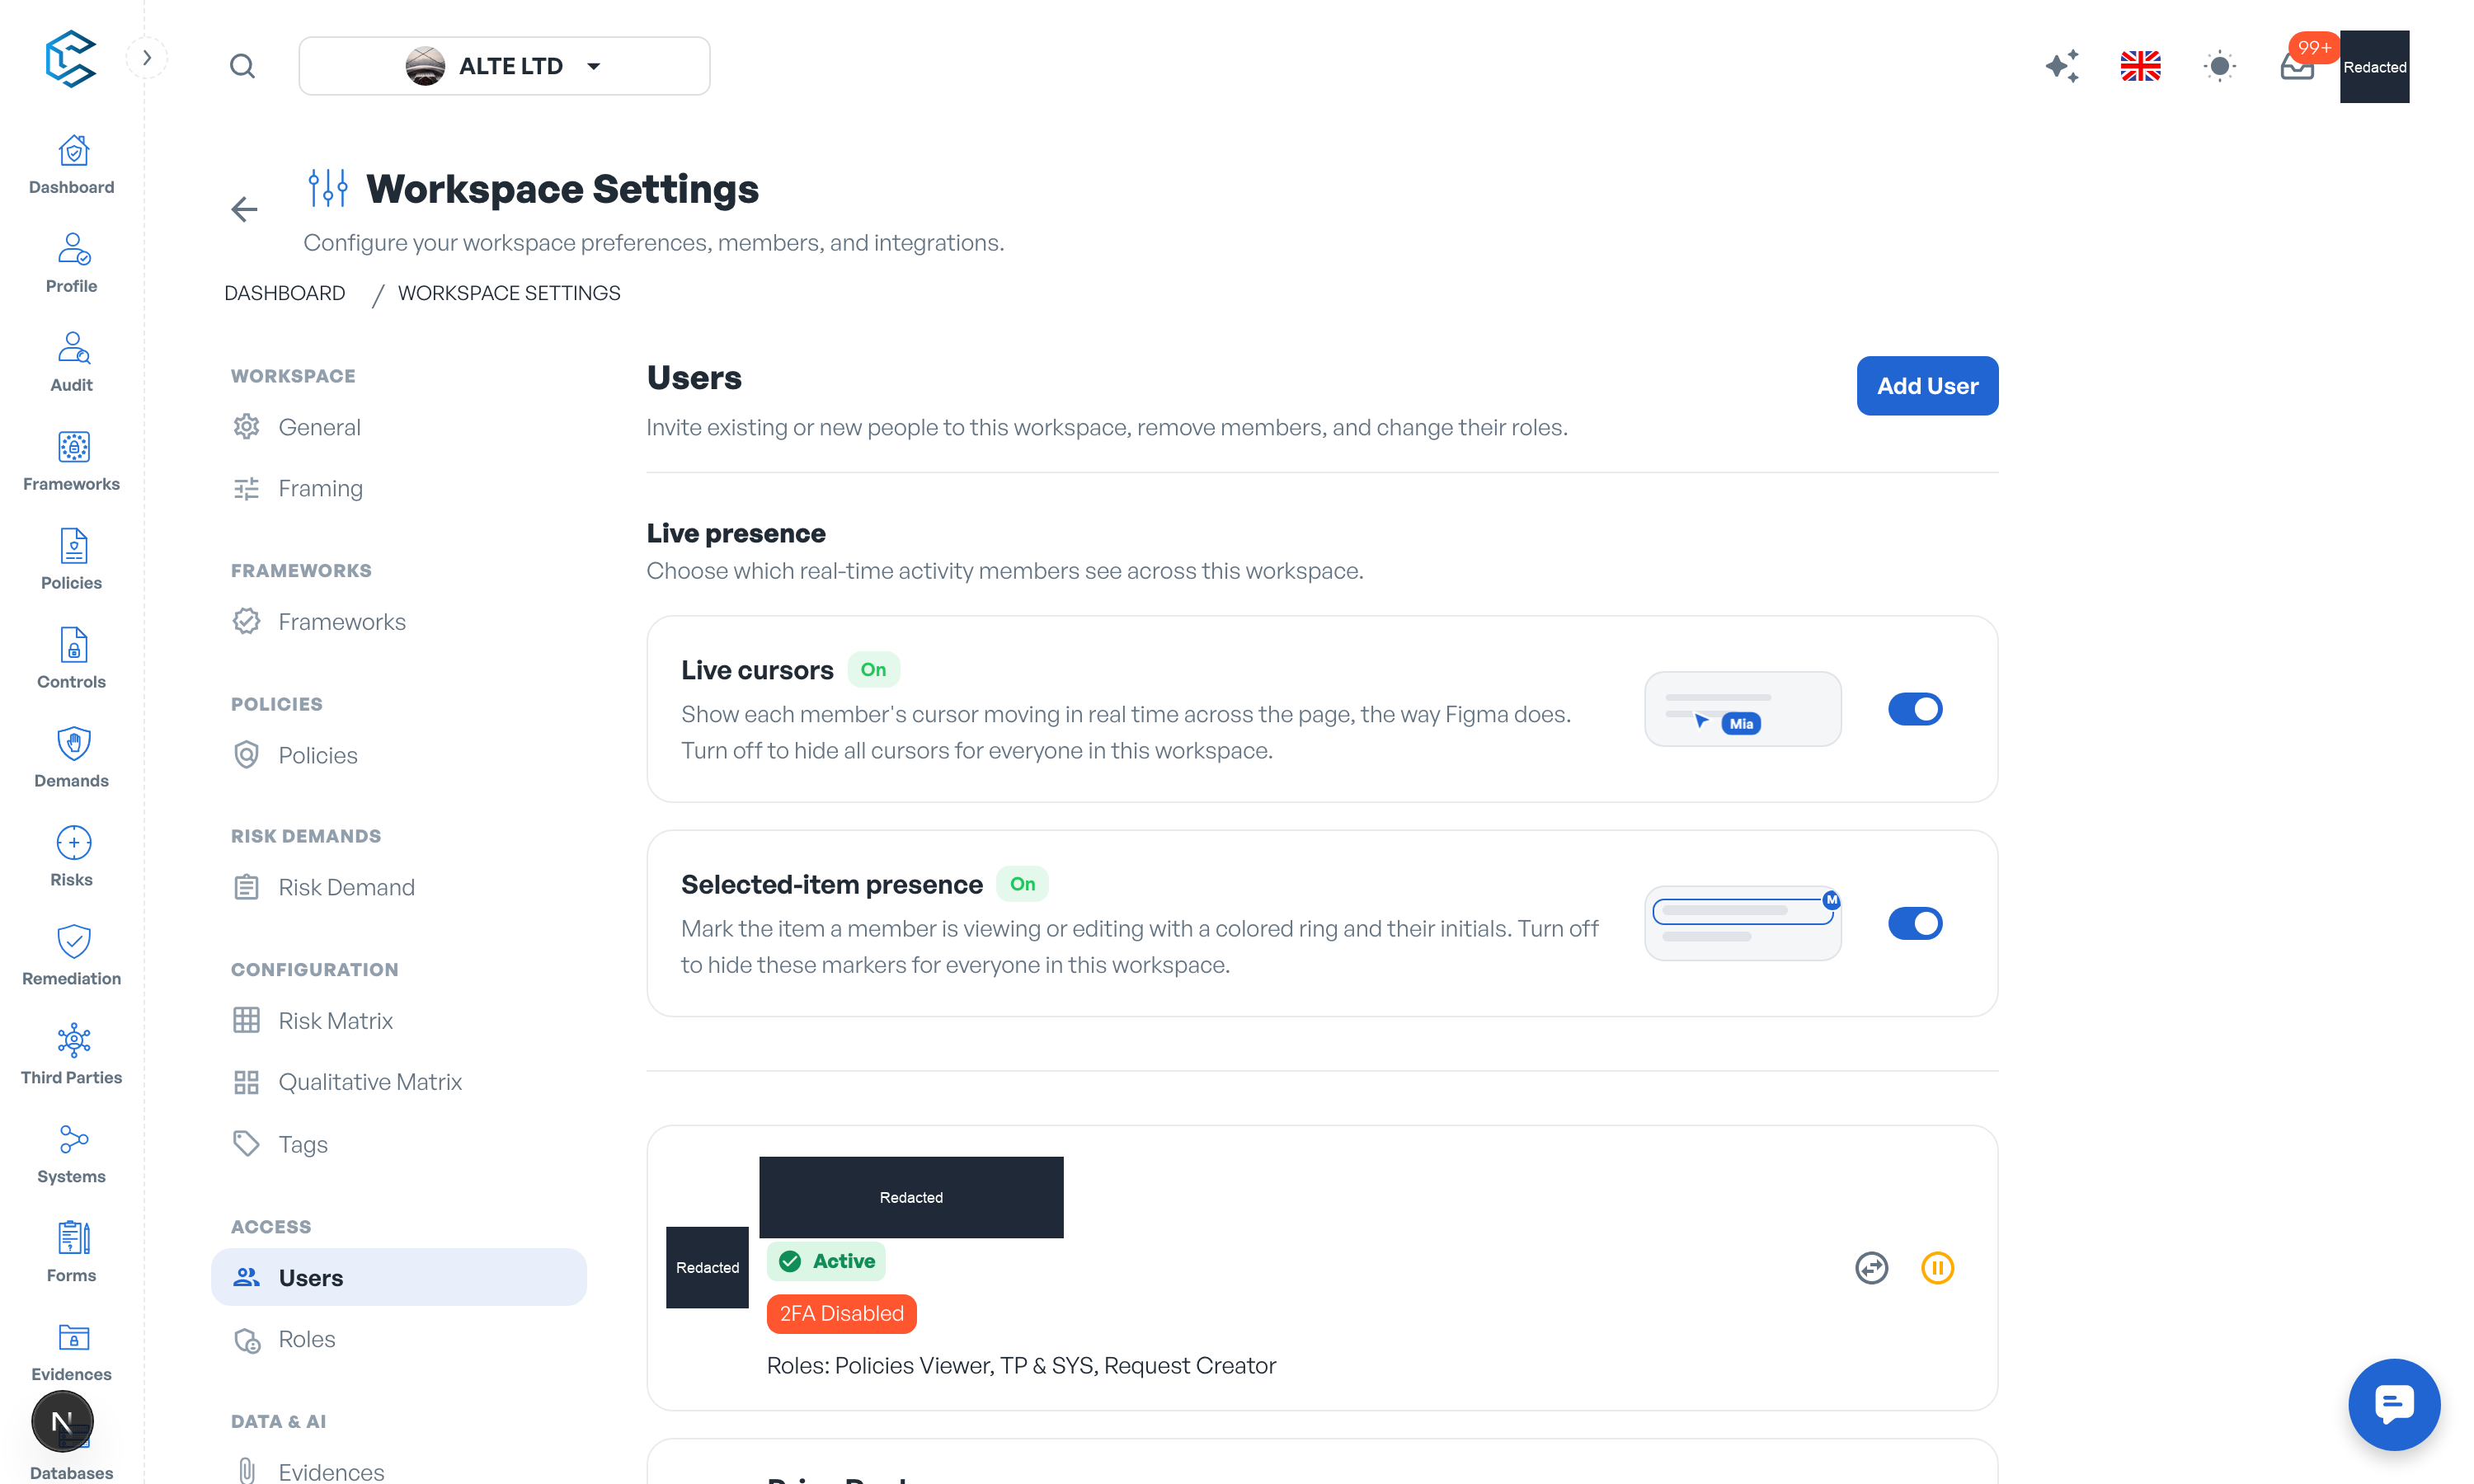
1. The Members List
The section lists every member and invitation with their name, email address, whether they have two-factor authentication enabled (2FA Enabled / 2FA Disabled), their assigned roles and their status:
| Status | Meaning |
|---|---|
| Active | A member with access to the workspace. |
| Pending | An invitation that has been sent but not yet accepted. Pending invitations count as seats for billing. |
| Declined | An invitation the recipient refused. You can clear it from the list. |
| On hold | A member you deactivated. They can no longer log in to the workspace until restored. |
| Suspended | Deactivated for billing. Access is restored automatically once payment is set up. |
2. Invite a User
- Click Add User at the top of the section.
- Enter the person's email address and assign one or more roles.
- Send the invitation. The person receives an email; if they do not have a CSFaaS account yet, they create one as part of accepting.
The invitation appears as Pending until accepted, and you can cancel it at any time (Cancel Invitation).
Note: the first 2 users of a workspace, including the owner, are free. Inviting beyond that requires an active paid subscription; if billing is not set up yet, the invite dialog redirects you to Settings, Billing to add a payment method first.
3. Change a Member's Roles
- Open the member's actions and choose Change Role.
- Tick the roles they should hold and save.
Two safeguards apply: every member must keep at least one role, and at least one member must always hold the Account Manager role. Roles themselves are defined in Settings, Roles.
4. Deactivate, Restore or Remove
- Put on Hold: deactivates a member. They will no longer be able to log in, but their account and history are kept.
- Restore User: reactivates a member who was on hold.
- Permanently Delete: removes the user from the workspace for good. This action cannot be undone.
- Remove Refused Invitation: clears a declined invitation from the list.
You cannot remove yourself from the workspace here; use Leave workspace in the General section instead.
5. Live Presence
At the bottom of the Users section, two workspace-wide switches control the real-time presence layer every member sees:
- Live cursors: show each member's cursor moving in real time across the page, the way Figma does.
- Selected-item presence: mark the item a member is viewing or editing with a coloured ring and their initials.
Turning a switch off hides that layer for everyone in the workspace; turning it back on restores it. Both changes apply immediately.
Privacy note. Personal details in this revision have been removed, masked or replaced for privacy. The original is retained privately.