

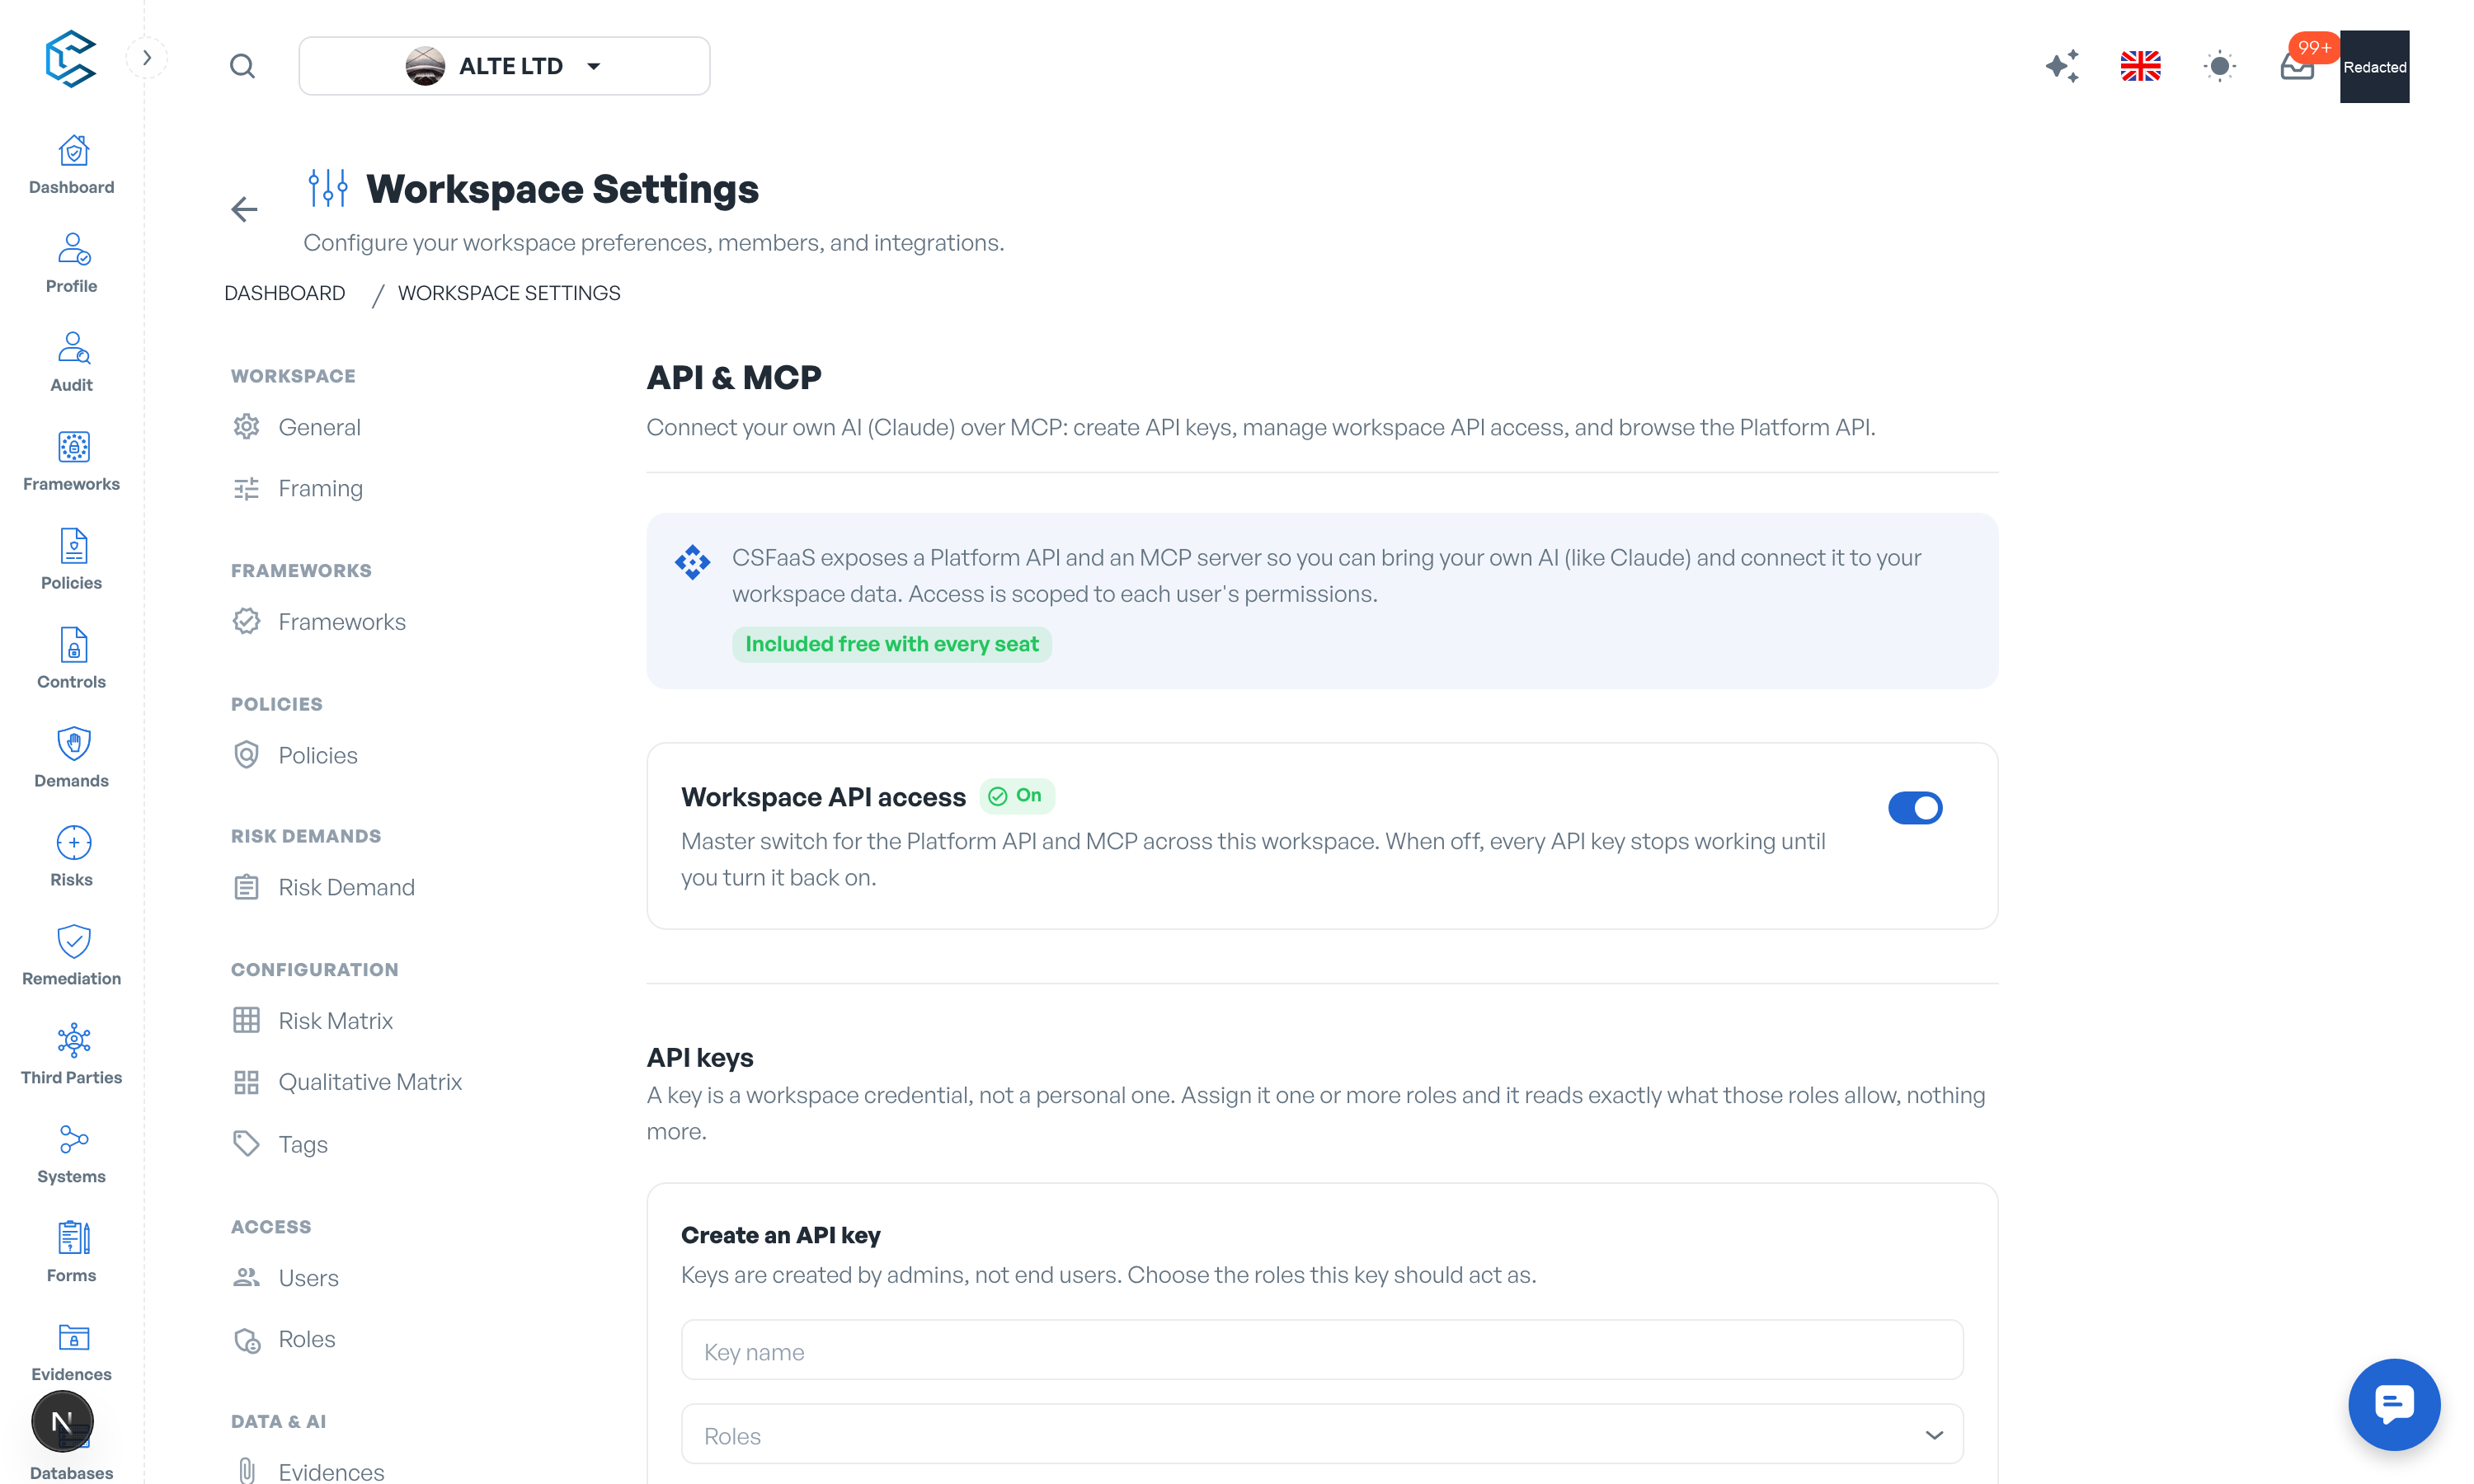
CSFaaS exposes a Platform API and an MCP server so you can bring your own AI (like Claude) and connect it to your workspace data, or read your compliance data from your own scripts and tools. The API & MCP section of Workspace Settings is where you manage that access. It is included free with every seat.
1. What You Get
- A REST API at api.csfaas.com covering frameworks, policies, controls, risks, demands, audits, systems, third parties, forms and evidences. The full interactive reference lives at api.csfaas.com/v2.
- An MCP server at mcp.csfaas.com, so AI assistants such as Claude can query your compliance programme conversationally. Its overview and setup guide live at that address.
Both surfaces are read-only by default. A workspace admin can grant a specific credential, an API key or a connected AI client, read & write access when the key is created or the connection is approved; only such a credential can create, update or delete data. Writes execute as the bound user, under their live permissions and the same guard rails as the app, so a credential can never read or change more than the roles it carries allow. Every request, read or write, is recorded in the Data access console (the Data access tab of the Events page, available with the extended activity history add-on).
2. Workspace API Access
The Workspace API access switch is the master kill switch for the Platform API and MCP across this workspace. When off, every API key stops working until you turn it back on; the keys themselves are kept, so re-enabling restores integrations without re-issuing anything.
A second switch, Allow API writes, governs write access for the whole workspace. When it is off, keys and AI clients granted read & write access behave as read-only until writes are turned back on; read-only credentials are never affected.
Changing either switch requires the Workspace settings edit permission.
3. API Keys
Access is authenticated by API keys. Three properties define the model:
- Keys act as a user: an admin binds a key to a workspace member, and the key reads, and with write access changes, exactly what that user can, nothing more. It follows the user's live permissions, so demoting or removing the user immediately narrows or cuts off the key.
- Keys are created by administrators: only workspace admins, or members with Settings access, can create API keys, and creating one requires two-factor authentication on your account. Give the key a recognisable name (for example "Claude on my laptop"), choose the member it acts as, and pick its access level: Read-only (the default) or Read & write.
- The secret is shown once: copy the key when it is revealed; for your security it will not be shown again. If you lose it, revoke it and create a new one.
The section lists Your API keys and All workspace keys (every key issued by members of this workspace), with creation and last-used dates and an access chip showing whether each key is Read-only or Read & write. Any key can be revoked, which immediately cuts off whatever uses it, or deleted entirely. Both actions are irreversible.
Note: API keys cannot be created in the demo workspace. Create your own workspace to connect the API.
4. Connecting
The Connect quickstart card gives you everything needed to point a client at the API:
- The base URL and the authentication header to send with each request.
- A ready-to-copy request that answers "who am I?", to verify a key works.
- An MCP server configuration block to paste into your MCP client (for example Claude Desktop), replacing the placeholder with your API key.
The Documentation cards link to the two hosted references: the full Platform API reference (authentication, permission model, endpoints and examples) and the MCP guide with the tool catalogue and setup instructions for Claude, Cursor or any MCP client.
Warning: treat an API key like a password. Never share it, and revoke any key you suspect has leaked.
Privacy note. Personal details in this revision have been removed, masked or replaced for privacy. The original is retained privately.