

Open Settings at the bottom of the left navigation. Settings apply to the selected workspace; your personal name, sign-in security, language and appearance are managed through the account menu.
Start with the task
| You need to… | Open |
|---|---|
| Change the workspace name or mark, transfer ownership, or leave | General |
| Choose which capabilities are enabled | Framing |
| Configure live collaboration indicators | Presence |
| Understand event and notification routing | Events |
| Manage shared tags | Tags |
| Invite people or manage their membership | Members |
| Define what members may read and change | Roles |
| Manage script and connected-assistant access | API & MCP |
| Review seats, add-ons, payment information and invoices | Billing |
| Configure the risk model and assessment criteria | Risk matrix and Impact matrix |
| Configure demand review, recipients and default deadlines | Risk demands |
| Require lifecycle approvals | Approvals |
| Control evidence file storage | Evidence |
Use Search settings to find an area by topic. The current area appears in the header and address, so you can return to it directly.
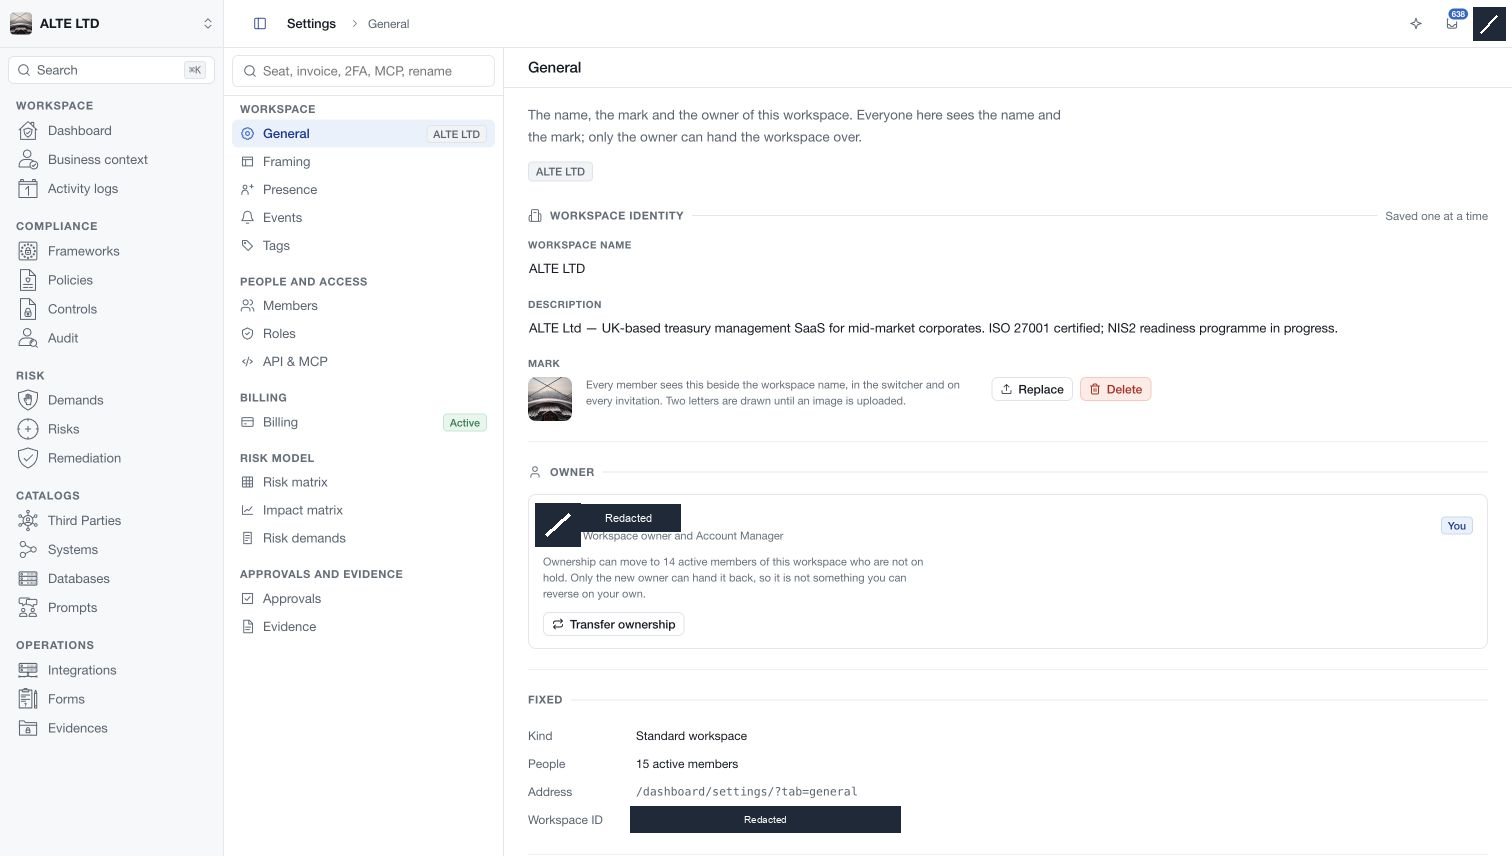
Check how a change is saved
Read the save label beside the relevant controls. General, for example, saves identity fields one at a time. Other controls apply immediately, while some editors collect a draft for a save action. Review the success or error message before moving on; there is no single save rule for the entire settings area.
Settings availability depends on your workspace permissions and the capability being configured. A disabled action or approval notice explains the next step. Enabling a module in Framing does not grant every member permission to use it, and enabling API access does not independently enable MCP.
For a new workspace, agree the intended modules and risk approach, review role assignments, then configure the relevant workflow and evidence options. Check each area with the people responsible for operating it.